

Quick Controls
- Mouse movement → Inspect and aim. Find the intended mission target.
- Hold left mouse button → Aim. Make the final adjustment.
- Release left mouse button → Shoot. Commit only after checking the target.
High Score Tips
- Identify the intended figure before starting the shot.
- Do not hold after the line is ready solely to delay the decision.
- Correct a missed release toward the specific target rather than sweeping the whole scene again.
Identify the mission target, steady the aim, and release the trigger before the useful window closes.
- Classification
- FPS
About Agent Hunt: Pro Shooter
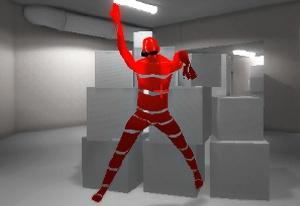
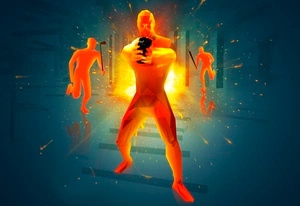
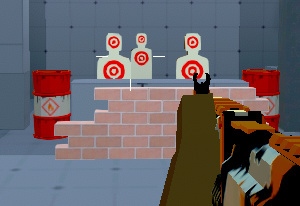
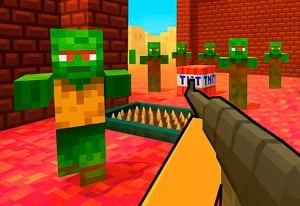
Agent Hunt: Pro Shooter is a scene-based aiming challenge in which identifying the intended enemy comes before the shot. A mission target can be mixed into a busy environment, with a limited opportunity to act. You inspect the scene, align the aim, and commit at a useful moment.
The controls separate holding from release: holding the left button aims, while releasing fires. That makes a successful attempt a sequence rather than an immediate tap. Resolve who the target is before beginning the final adjustment, then use the release when the line is ready. Use the hold to settle your aim; extra time alone does not make the target easier to identify.

How to Play Agent Hunt: Pro Shooter
Find and hit the mission target before the opportunity ends.
- Start the displayed mission and read which target the task identifies.
- Move the mouse to inspect the scene and locate that figure.
- Hold the left button for the final aiming stage.
- Release to fire when the target is aligned, then read the result before continuing.
Controls & Timing
Identification precedes commitment
A crowded scene contains more information than a single obvious enemy. Confirm the intended target before treating any visible figure as the right shot.
Hold and release have separate roles
Holding prepares the aim and releasing fires. Check the alignment before the release instead of expecting another confirmation input afterward.
Controls
| Input | Action | When to use |
|---|---|---|
| Mouse movement | Inspect / aim | Find the mission target. |
| Hold left mouse button | Aim | Make the final adjustment. |
| Release left mouse button | Shoot | Commit the aligned shot. |
High Score Tips
- Finish the target search before the final aim. Moving between unrelated figures while already preparing the release makes identification and shooting harder to separate.
- Use a small final correction. Once the target is recognized, reduce the motion to the adjustment actually needed instead of repeating a broad search sweep.
- Treat waiting as a decision. A limited opportunity can close while you continue holding. Release when the shot is ready rather than delaying without a reason.
- Diagnose the failed stage. Decide whether the wrong target was chosen, the alignment was poor, or the release was late. Change that part of the next attempt.
Key Features
- Target-recognition missions: The intended figure must be identified in the scene.
- Separate trigger stages: Hold and release perform distinct actions.
- Limited opportunity: Timing matters after the target is found.
- Pointer-led interaction: Inspect the scene and aim with the pointer.
Frequently Asked Questions
Does a click fire immediately?
Hold the left mouse button to aim, then release it to shoot. Follow that sequence and check the target before the release commits the action.
When should I release the shot?
Use the hold to settle the aim on the intended target. Release when the line is ready and the opportunity is still open; a late release can waste a careful setup.
What should I check after a miss?
Separate identification, alignment, and release timing. A wrong target and a late shot need different corrections, so avoid changing every part of the attempt without a diagnosis.
How do I handle a crowded scene?
Identify the mission target before starting the final aim adjustment. Look at the surrounding figures and available firing line, then hold to aim and release when the intended target is aligned.